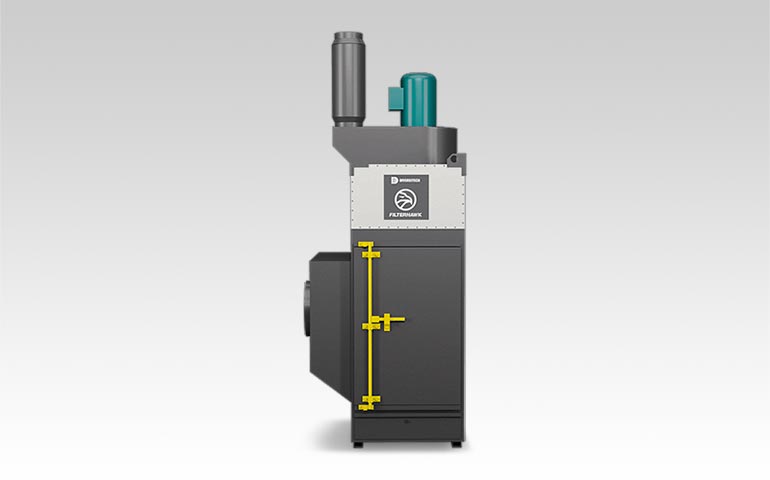
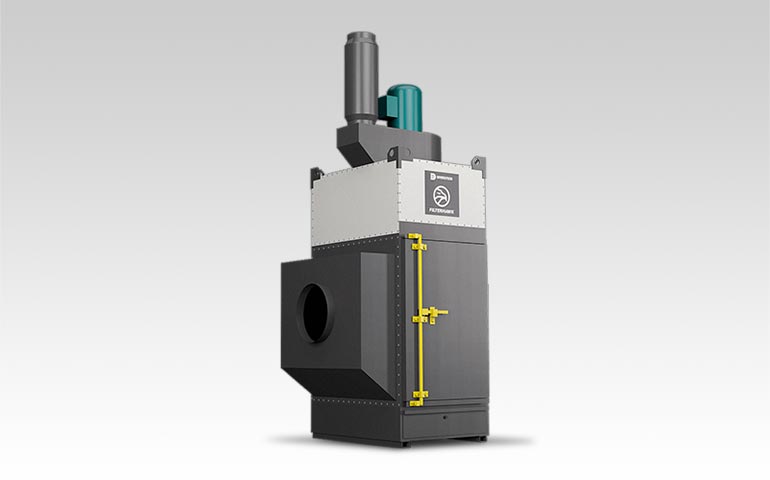
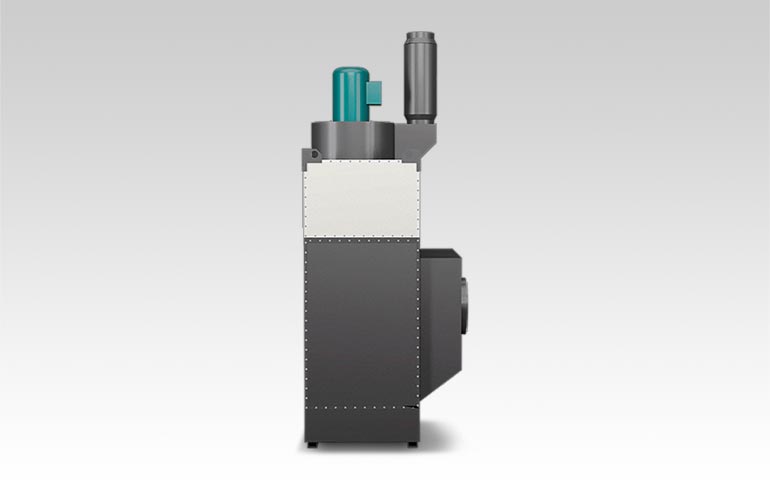
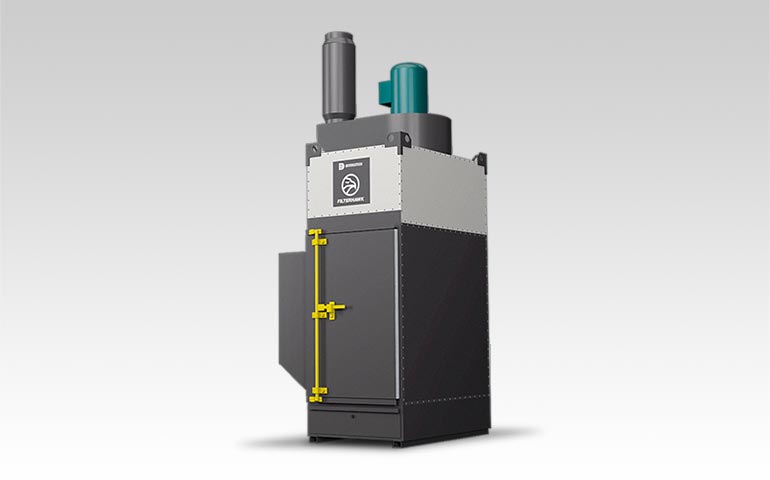
Filterhawk FH-06 Cartridge Dust Collector Help & Support
Learn how to get the most out of your Filterhawk FH-06 Cartridge Dust Collector and troubleshoot common problems.
See our help topics and support videos below, and download the Filterhawk FH-06 Cartridge Dust Collector product guide and owner's manual.
How to..
Unpacking Unit
- Inspect carton for any possible damage during transit.
- The Filterhawk Cartridge Dust Collector ships in multiple containers. The separate cargo contains:
- Filter module assembly
- Hopper section (optional)
- Fans, structural components, airlocks, safety monitoring filters, and custom accessories
Installation - Before You Begin
The Filterhawk must be installed by installation personnel. The following tools are required for assembly:
- SAE socket wrench set
- Screwdriver sets
- Impact wrench
- Hammer drill
- Masonry bit
- Floor anchors
- Wire cutters
- Wire nuts
- Electrical tape
- Electrical conduit
- 1/2” or larger black iron pipe or equivalent compressed air connections
- Thread sealant
- Forklift
- Overhead hoist
- Level
Hopper Unit Assembly
- Find the hoppers and support legs.
- Move the hoppers to a level surface
- Square the hoppers.
- Using the corner support brackets, bolt the hoppers together.
- Turn the assembly over into a standing position. (Heavy machinery is required)
- Carefully rotate the completed hopper and support leg assembly into a standing position (using heavy machinery). Ensure inspection panels and connections are oriented properly.
- Level the hopper flange(s).
- Secure the support legs to the floor using concrete anchors.
For optimal performance, clean filters are necessary. You can either clean your cartridge filters with our Green Filter Cleaning Machine, or you can replace them at regular intervals. To replace your cartridge filters, do the following:
- Disconnect electrical power to the fan and control box.
- Disconnect compressed air service from the compressed air header.
- Bleed all air from the air header.
- Perform an OSHA approved lockout/tag-out procedure on these and any other energy sources.
- Open the access doors at the front of the unit.
- Rotate the right clamp bar up and pull, until its locking tab clears the rectangular cut-out on the left clamp bar.
- Rotate the left clamp bar up and push it away from you until its locking tab clears the rectangular cut-out on the right clamp bar.
- Rotate both clamp bars down until they are vertical and clear of the cartridge extraction path.
- Slide dirty filter cartridges off the clamp bar channels.
- Clean the surface of the tube sheet in the areas where the filter gasket forms a seal.
- Carefully remove a new cartridge from the shipping carton.
- Grasp the new cartridge by the top metal pan and set it onto the clamp bar channels.
- Slide cartridge forward, keeping level. Push on the cartridge pan, not media. Do not drag gasket along the tube sheet.
- Push the cartridge in just far enough to leave room for the next cartridge to rest on the clamp bar channels.
- Repeat until row is full.
- To seal the new cartridges, repeat the instructions in steps 10 through 6 in reverse order.
- Repeat steps 6 through 16 until all the rows of cartridges are changed.
Troubleshooting
- Confirm you have the correct incoming voltage.
- Check motor rotation. Confirm the correct rotation using the indication arrow located on the motor. If the unit fails to turn on, the unit’s motor could be in reverse rotation and spinning incorrectly. An electrician is required to address the problem.
- If your Filterhawk does not turn on, it is possible that the unit is in reverse phasing. An electrician is required to reposition phase lines.
- Confirm that both the primary & secondary fuses are intact.
- If the problem continues, contact Diversitech support for assistance.
- Confirm that you have the correct connection input for the pulse controller (P2).
- Check to see if the P1 section on Filterhawk is dirty and clean if necessary. The P1 is used to clean ambient air.
- To function correctly, the pulse controller needs to increase in + values.
- Adjustment for pulsing may be required depending on motor package. Contact Diversitech support for assistance.
- If the bypass on your unit exhausts air, remove filters and check for damage in the gasket/filter media. Some residual bypass may expel due to left over in the clean chamber.
- If the bypass intakes air while my unit is off, it may be the result of too much offline pulsing. Contact Diversitech support for assistance.


